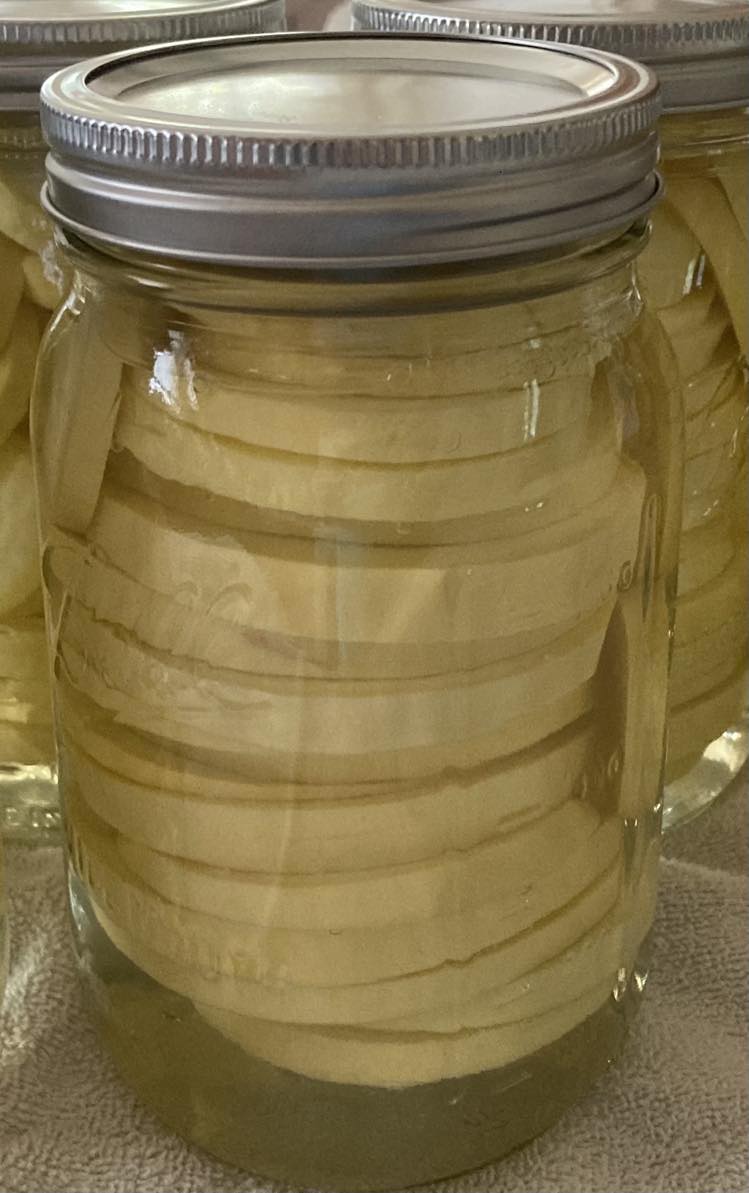
Squash Canning is Easier Than You Think!
Share
We MIGHT have planted about 8 squash this year and with the addition of some honeybee hives down the road we have had some amazing success with squash this year. God has truly blessed the harvest, so now we want to make sure we take care of what He's given us and put it up for the winter when we have no garden!
Here's the recipe for squash canning. I also have the video below if you're a more visual learner.
Instructions:
- Wash and sterilize your jars as well as the rings and lids.
- Get your brine (recipe below), lids, and water bath all heating up on the stove.
- Slice the squash any way you'd like whether round, spears, or in chunks and stuff them into the jar always leaving one inch of head space at the top of the jars.
- Add 1 teaspoon of salt on top of the squash.
- Fill the jars with the brine.
- Wipe the jar tops off with white vinegar and then place the lid and ring on top of the jar.
- Put the jars into the water bath (boiling water) with the water covering at least one inch of the jars for 8 minutes.
- Allow to sit for 24hrs before removing the rings.
Brine Recipe:
- 9 cups of water
- 1/2 cup of apple cider vinegar
- 1/2 cup of sugar
- I found this recipe makes enough for about 6 quarts of squash.
Notes:
- Make sure the sugar is completely dissolved in the water.
- Make sure to thoroughly wash the squash when you take it out of the jar and are ready to eat it.
Please know I have only come across this recipe so I am unsure of how crunchy the squash will be once I take it out of the jar. I will update this blog when I know!
@kristenfulton1 Haha I made a loop. Anyways….canning squash is super easy. Some canning pointers: 1. Leave an inch at the top 2. Clean and sterilize everything before you start. 3. Let everything heat up and be around the same temperature when you’re canning. #momsoftiktok #homeschoolmoms #momof6kids #gardening101 #canningtiktok #canningsquash ♬ original sound - Kristen

